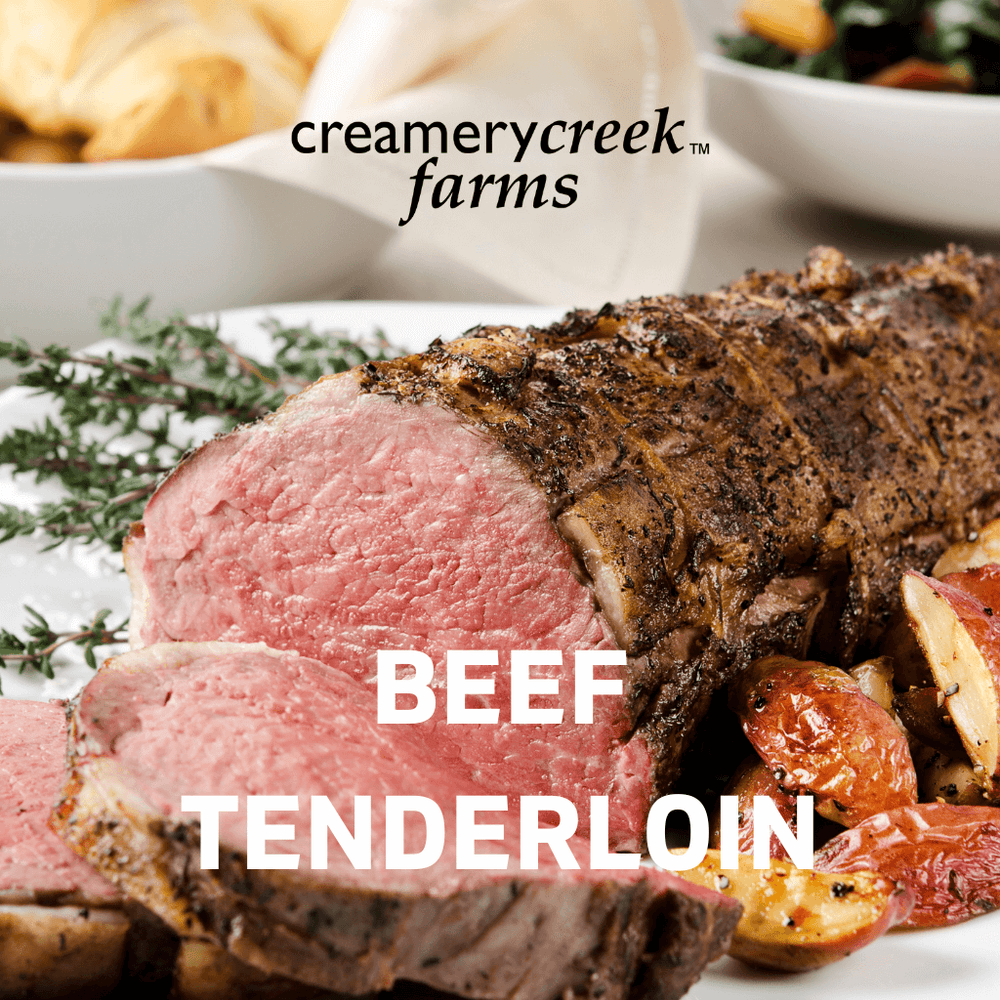
A Beef tenderloin roast is the ultimate cut for a special occasion—or just because you’re craving something incredible. It’s tender, flavorful, and surprisingly simple to cook if you know a few key tricks that I've learned during my time in the kitchen. This goes for the kids venison tenderloin, to their 4-H Duroc pork tenderloin, to our farms dry aged beef tenderloin, only seasonably available.
Choosing the Right Cut
Go for a whole, well-trimmed, tenderloin if you're feeding a crowd or want leftovers. Otherwise, individual steaks work great for portion control. Look for bright red meat with good marbling—those thin streaks of fat add flavor. Avoid anything that looks dull or gray.
Prepping for Perfection
Start by trimming any excess fat or silver skin (that tough, silvery membrane). If you purchase one from our farm store they're already well trimmed and you can skip this step. I like to tie it with butcher’s twine so it cooks evenly. Then pat it dry—this helps with a good sear.
Seasoning and (Optional) Marinating
Salt and freshly ground black pepper are all you need for classic flavor. Want to go the extra mile? A simple marinade of olive oil, garlic, rosemary, and a splash of balsamic vinegar adds depth. If marinating, let it sit for at least two hours or overnight in the fridge.
Cooking Methods
Pick your favorite method, but the goal is the same: a deep, flavorful crust and a perfectly cooked center.
Oven Roasting (Best for Whole Tenderloin)
-
Preheat oven to 425°F.
-
Sear on all sides in a hot pan, then transfer to a roasting rack.
-
Roast until internal temp reaches 135°F (for medium-rare), then rest for 15 minutes before slicing.
Grilling (Smoky and Delicious)
-
Preheat grill to medium-high.
-
Sear all sides, then move to indirect heat.
-
Cook until internal temp reaches 135°F.
-
Rest before slicing.
Pan-Searing (Fast & Flavorful)
-
Heat a heavy skillet over medium-high heat.
-
Sear for 2-3 minutes per side until golden.
-
Finish in the oven or lower the heat and cook until done.
The Key to Juicy Tenderloin: Resting
Always let it rest for at least 15 minutes after cooking. This keeps the juices from running out when you slice it. Speaking of slicing—use a sharp knife and cut against the grain for the best texture.
Serve & Enjoy
Pair with roasted veggies, mashed potatoes, or a crisp salad. And if you really want to impress, serve it with a rich, buttery sauce (because why not?).
All-in-All
Cooking beef tenderloin doesn’t have to be intimidating. With the right prep and a little patience, you’ll have a show-stopping meal every time. Now, go make something delicious!


Leave a comment
Also in Farm Family Recipes
Easy-Peasy Shredded Beef: The Do-Everything Version
Simple food wins every time. This easy shredded beef is gently seasoned, slow cooked until fork tender, and built to flex. Tuck it into tacos, pile it onto warm buns, or stash half in the freezer for later. One beef roast and endless good meals.
Keep reading
Galbi: Korean-Style Short Ribs, Farm-Fresh Flavor
Sweet, savory, and smoky, this Korean-inspired galbi recipe brings a new twist to Creamery Creek’s dry-aged short ribs. Marinate overnight and grill for juicy, caramelized ribs with unforgettable flavor.
Keep reading
Creamery Creek Over the Top Chili Recipe
This chili is not fancy, but it is deeply satisfying.
Our Over the Top Chili starts with a simple large meatball made from Creamery Creek dry-aged ground beef, seasoned just enough to let the beef shine. Instead of browning it in a pan, the whole thing goes on the smoker, perched right over the pot of chili. As it cooks, the beef slowly bastes the chili below, dripping smoky, rich flavor straight into the pot.
Keep reading